
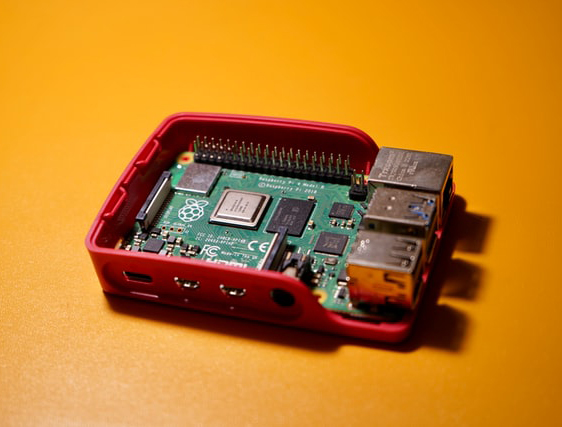
Setting up and hosting a website, blog or an API on Raspberry Pi from your home, might sound exciting to some but early insecure to others. And it is, both.
A lot of tutorials out there will teach you how to do a basic setup or even full k3s on Raspberry Pi, but little do they mention all the security measures that need to be taken care of once you decide to put your small little Pi out in the wild!
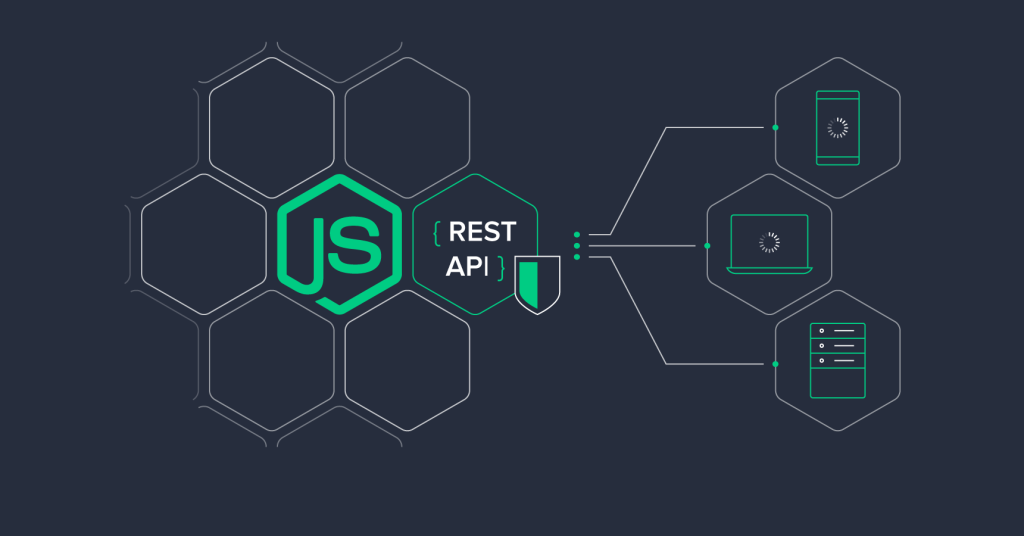
That’s just one layer. How about that NodeJS/Express server running an API on port 8080? Have all the best practices been taken care of? Is your API protected from a random XSS, injection DDOS or cookie theft? And most importantly are your users safe?
If this doesn’t scare you enough, just understand that what you are doing in reality is opening a port from your computer to the internet of users, but also, bots, scanners, robots, scripting kiddies, malicious actors and governments!
In this tutorial we will go through some basic security settings that can make your project and the Pi production ready. Not only in terms of security but also availability. This is a list of setups/best practices I collected in one place for easier deployment.
There is no 100% guarantee that your system will not be hacked at some point, but the best approach is to minimize the attack surface and these are some good practices you can start implementing today to make your project resilient to bulk of attacks that we see in the open today.
Goals
- Minimize attack surface area
- Establish secure defaults
- Fail securely
- Keep it simple
- Test early
- Log/monitor stuff
Steps
- Platform security
- Server security
- App security
- Availability with PM2 and NGINX as reverse proxy
- Handling errors and exception
- Logging and monitoring – app logs and server logs
- Stress testing and load testing your API
- Making your app public
Requirements
- Windows, MacOS or Linux machine as your home work station
- One Raspberry Pi 3B (1GB) or better Raspberry Pi 4 with 2, 4, 8GB of RAM
- SD card with 32GB at least
- Stable Pi case with cooling (if you want it to last)
- Original power adapter or PoE (Power-over-Ethernet) Hat
- A domain name .co, .io, .club, .ai… Don’t use .com since Cloudflare DDNS doesn’t work with it
- Cloudflare account (it’s free)
- An NodeJS/Express app to run on the Pi eg. API
Hardening the Pi
Get official Raspberry Pi imager and get Raspberry Pi OS Lite 32bit on the SD card here.
After burning the image re-insert the SD card into your computer and make changes to boot folder:
1. Add empty ssh file to the /boot/ folder on the SD card.
2. Edit /boot/config.txt file to enable 64bit arm:
sudo nano /boot/config.txt
// add line:
arm_64bit=1
3. Edit /boot/cmdline.txt file:
sudo nano /boot/cmdline.txt4. Put below your IP and default gateway together with hostname, adapter and autosetup off:
cgroup_memory=1 cgroup_enable=memory ip=192.168.1.50::192.168.1.1:255.255.255.0:masterPi:eth0:off5. Boot up and SSH to your Pi at the IP you predefined in cmdline.txt:
ssh pi@192.168.1.506. Verify you are running the 64-bit kernel:
uname -a7. Expand filesystem:
sudo raspi-config --expand-rootfs8. Change hostname:
sudo nano /etc/hostname9. Add new user:
sudo adduser newuser10. Make him admin:
sudo gpasswd -a newuser adm11. Make him sudo:
sudo gpasswd -a newuser sudo12. SSH with new account and lockout Pi account out:
sudo passwd -l pi13. Disable sudo password prompt for new user:
sudo nano /etc/sudoers

// add to bottom:
newuser ALL=(ALL) NOPASSWD:ALL
14. Do a system update:
sudo apt update && sudo apt upgrade -y
sudo apt dist-upgrade
15. Create an SSH key-pair and remove password:
sudo mkdir ~/.ssh && chmod 700 ~/.ssh

// create keygen on your machine
**eg. ssh-keygen -b 4096** - on Windows
** you can find your public key here: .ssh/id_rsa.pub**
** you can find your private key here: .ssh/id_rsa**

// copy the key from your machine to the Pi:
scp $enc:USERPROFILE/.ssh/id_rsa.pub newuser@192.168.1.50:~/.ssh/authorized_keys

// now SSH with your new user and the key on your machine
16. See all active services:
systemctl --type=service --state=active - list all active17. Example services to kill:
sudo systemctl disable bluetooth && sudo systemctl stop bluetooth
sudo systemctl disable avahi-daemon && sudo systemctl stop avahi-daemon
sudo systemctl disable triggerhappy && sudo systemctl stop triggerhappy
sudo systemctl disable wpa_supplicant && sudo systemctl stop wpa_supplicant
18. Modify SSH to only be available to new user only:
sudo nano /etc/ssh/sshd_config

// add lines
AllowUsers newuser
DenyUsers pi

// uncomment or change lines:
Port 777 - make your choice and remember it
AddressFamily inet
PermitRootLogin no
PasswordAuthentication no

// reset ssh and relogin at new SSH port with -p 777
sudo systemctl restart sshd
19. Install and enable firewall:
// see current open ports and services behind it
sudo ss -tupln

// install the uncomplicated firewall
sudo apt install ufw -y
sudo ufw allow 777/tcp comment "SSH"

// add others only that you need
sudo ufw allow 80/tcp comment "HTTP"

// then
sudo ufw enable
sudo ufw status
20. Add Fail2Ban:
sudo apt install fail2ban -y
sudo nano /etc/fail2ban/jail.local

// add lines:
[DEFAULT]
bantime = 86400
banaction = ufw

[sshd]
enable = true
port     = ssh
filter   = sshd
logpath  = /var/log/auth.log
maxretry = 3
21. Reset services and activate:
sudo systemctl enable --now fail2ban
sudo systemctl restart sshd
22. Make your server not respond to pings:
sudo nano /etc/ufw/before.rules

// find 'ok icmp codes for INPUT'
// find 'echo-request -j ACCEPT' and change to DROP
23. One-liners to create full backup and restore your SD card:
// create:
mkdir /home/user/newuser/backups

sudo dd if=/dev/mmcblk0 bs=1M | gzip - | sudo dd of=~/backups/backup_2021-08-20.gz

// restore:
diskutil unmountDisk /dev/disk1 gzip -dc ~/backups/backup_2017-11-14.gz | sudo dd of=/dev/rdisk1 bs=1m conv=noerror,sync
Securing the API
This is the where your app comes. Use this checklist to go through.
1. Use async await or promises.
2. Set request size limits: https://www.npmjs.com/package/raw-body
const contentType = require('content-type')
const express = require('express')
const getRawBody = require('raw-body')

const app = express()

app.use(function (req, res, next) {
if (!['POST', 'PUT', 'DELETE'].includes(req.method)) {
    next()
    return
}

getRawBody(req, {
    length: req.headers['content-length'],
    limit: '1kb',
    encoding: contentType.parse(req).parameters.charset
}, function (err, string) {
    if (err) return next(err)
    req.text = string
    next()
})
})
 // or

app.use(express.urlencoded({ extended: true, limit: "1kb" }));
app.use(express.json({ limit: "1kb" }));
3. Input validation: https://www.npmjs.com/package/validator
4. Output escaping: https://github.com/component/escape-html
5. Perform application activity logging: https://www.npmjs.com/package/winston
6. Monitor the event loop: https://www.npmjs.com/package/toobusy-js
7. Protect against brute force: https://libraries.io/npm/rate-limiter
8. Use Anti-CSRF: https://www.npmjs.com/package/csurf
const csrf = require('csurf');
csrfProtection = csrf({ cookie: true });
app.get('/form', csrfProtection, function(req, res) {
    res.render('send', { csrfToken: req.csrfToken() })
})
app.post('/process', parseForm, csrfProtection, function(req, res) {
    res.send('data is being processed');
});
9. Remove unnecessary routes that you don’t use.
10. Prevent HTTP Parameter Pollution: https://www.npmjs.com/package/hpp
const hpp = require('hpp');
app.use(hpp());
11. Use appropriate security headers: https://www.npmjs.com/package/helmet
app.use(helmet)12. Avoid evil regex!
13. Use on top of your code:
strict mode14. Install pm2:
sudo npm install -g pm2

// run it
pm2 start sever.js -i max
pm2 save
pm2 startup | grep "sudo" | bash
15. Install NGINX:
sudo apt install nginx
sudo nano /etc/nginx/sites-available/default

// add the following to the location part of the server block

server_name yourdomain.com www.yourdomain.com;

location / {
    proxy_pass http://localhost:5000; #whatever port your app runs on
    proxy_http_version 1.1;
    proxy_set_header Upgrade $http_upgrade;
    proxy_set_header Connection 'upgrade';
    proxy_set_header Host $host;
    proxy_cache_bypass $http_upgrade;
}
16. Check NGINX config:
sudo nginx -t17. Restart NGINX:
sudo service nginx restart18. For SSL:
sudo add-apt-repository ppa:certbot/certbot
sudo apt-get update
sudo apt-get install python-certbot-nginx
sudo certbot --nginx -d yourdomain.com -d www.yourdomain.com
19. Only valid for 90 days, test the renewal process with:
certbot renew --dry-run20. Running loadtest:
npm i loadtest
loadtest -c 500 -n 1000 http://mysite.com/
Find the full OWASP list here:
https://cheatsheetseries.owasp.org/cheatsheets/Nodejs_Security_Cheat_Sheet.html
Securing your domain and hiding your IP

Use your own domain and add it to Cloudflare.
2. Using DDNS with Cloudflare (no static IP):
git clone https://github.com/K0p1-Git/cloudflare-ddns-updater.git

// copy the template to customize it
 cd cloudflare-ddns-updater/
 sudo cp cloudflare-template.sh cloudflare.sh
 sudo nano cloudflare.sh

// Fill in the Cloudflare details global API key, zone identifier, record name (domain), proxy true
3. Run it:
sudo chmod +x cloudflare.sh
 ./cloudflare.sh

// check in Cloudflare console
4. Write simple crontab to ping Cloudflare when you ddns change:
crontab -e

// add
*/1 * * * * /bin/bash /root/
cloudflare-ddns-updater/cloudflare.sh

// if you add more subdomains (CNAME) make sure to:
systemctl restart cron
This would be it… but not really
There is more depth to each of the possible applications and frameworks, but this is a subject for a separate tutorial. Here it is based on NodeJS/Express framework as a demo.
Hope it helps make your projects more secure!